I LOVE ISLA
CHERRY
CHERRY
Couldn't load pickup availability
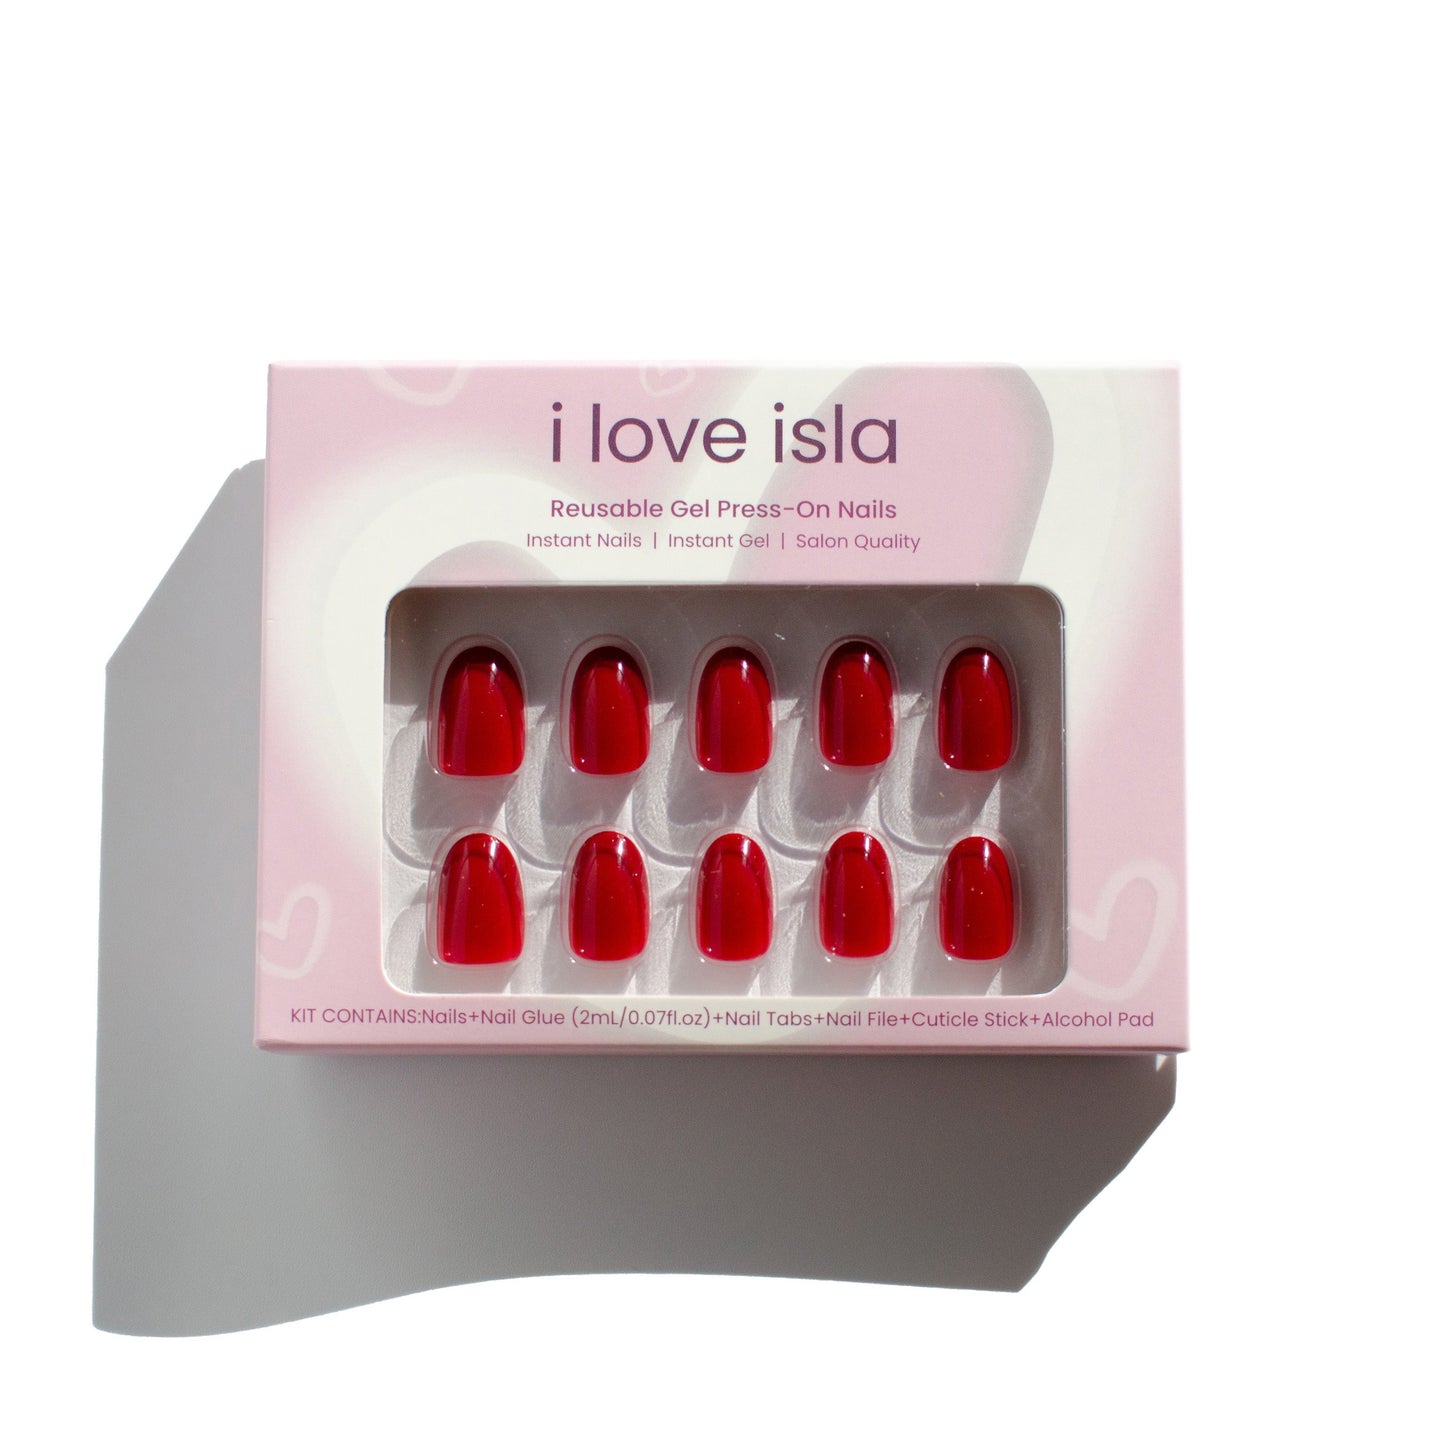
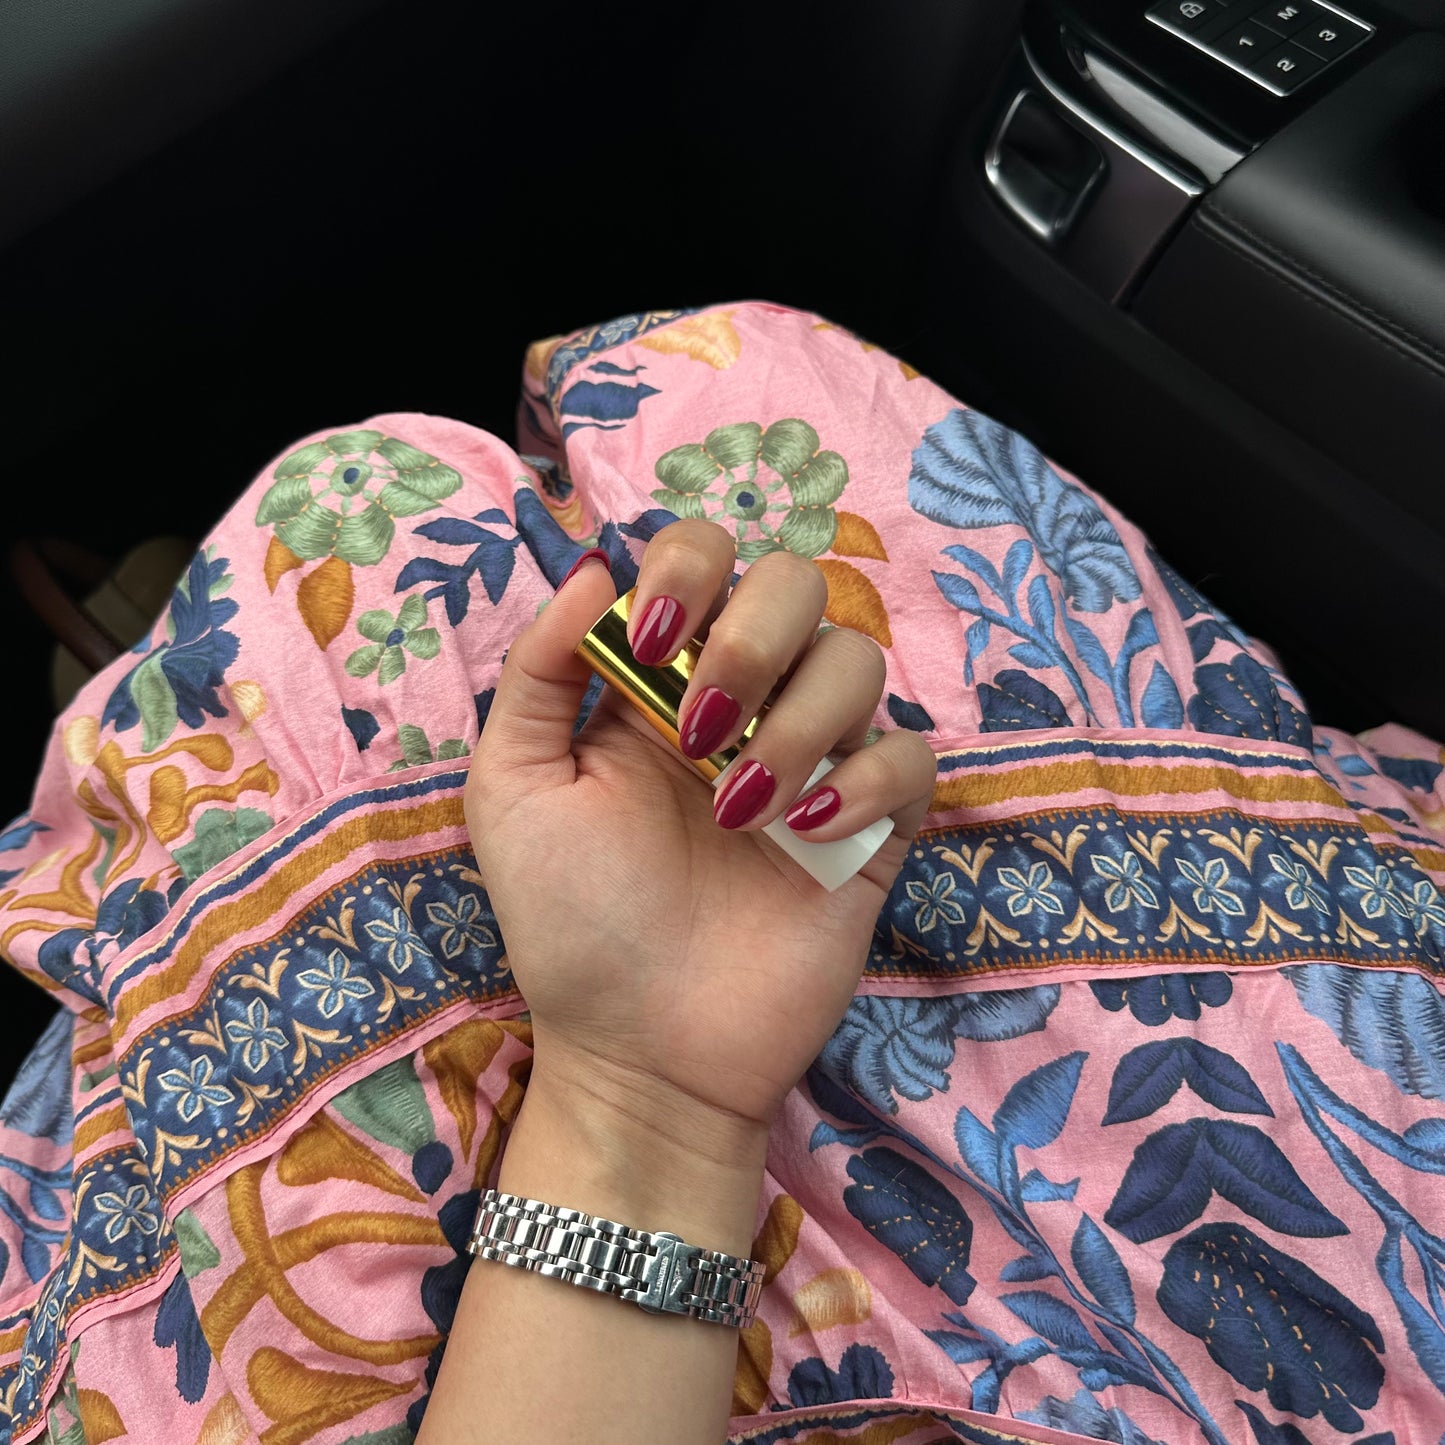
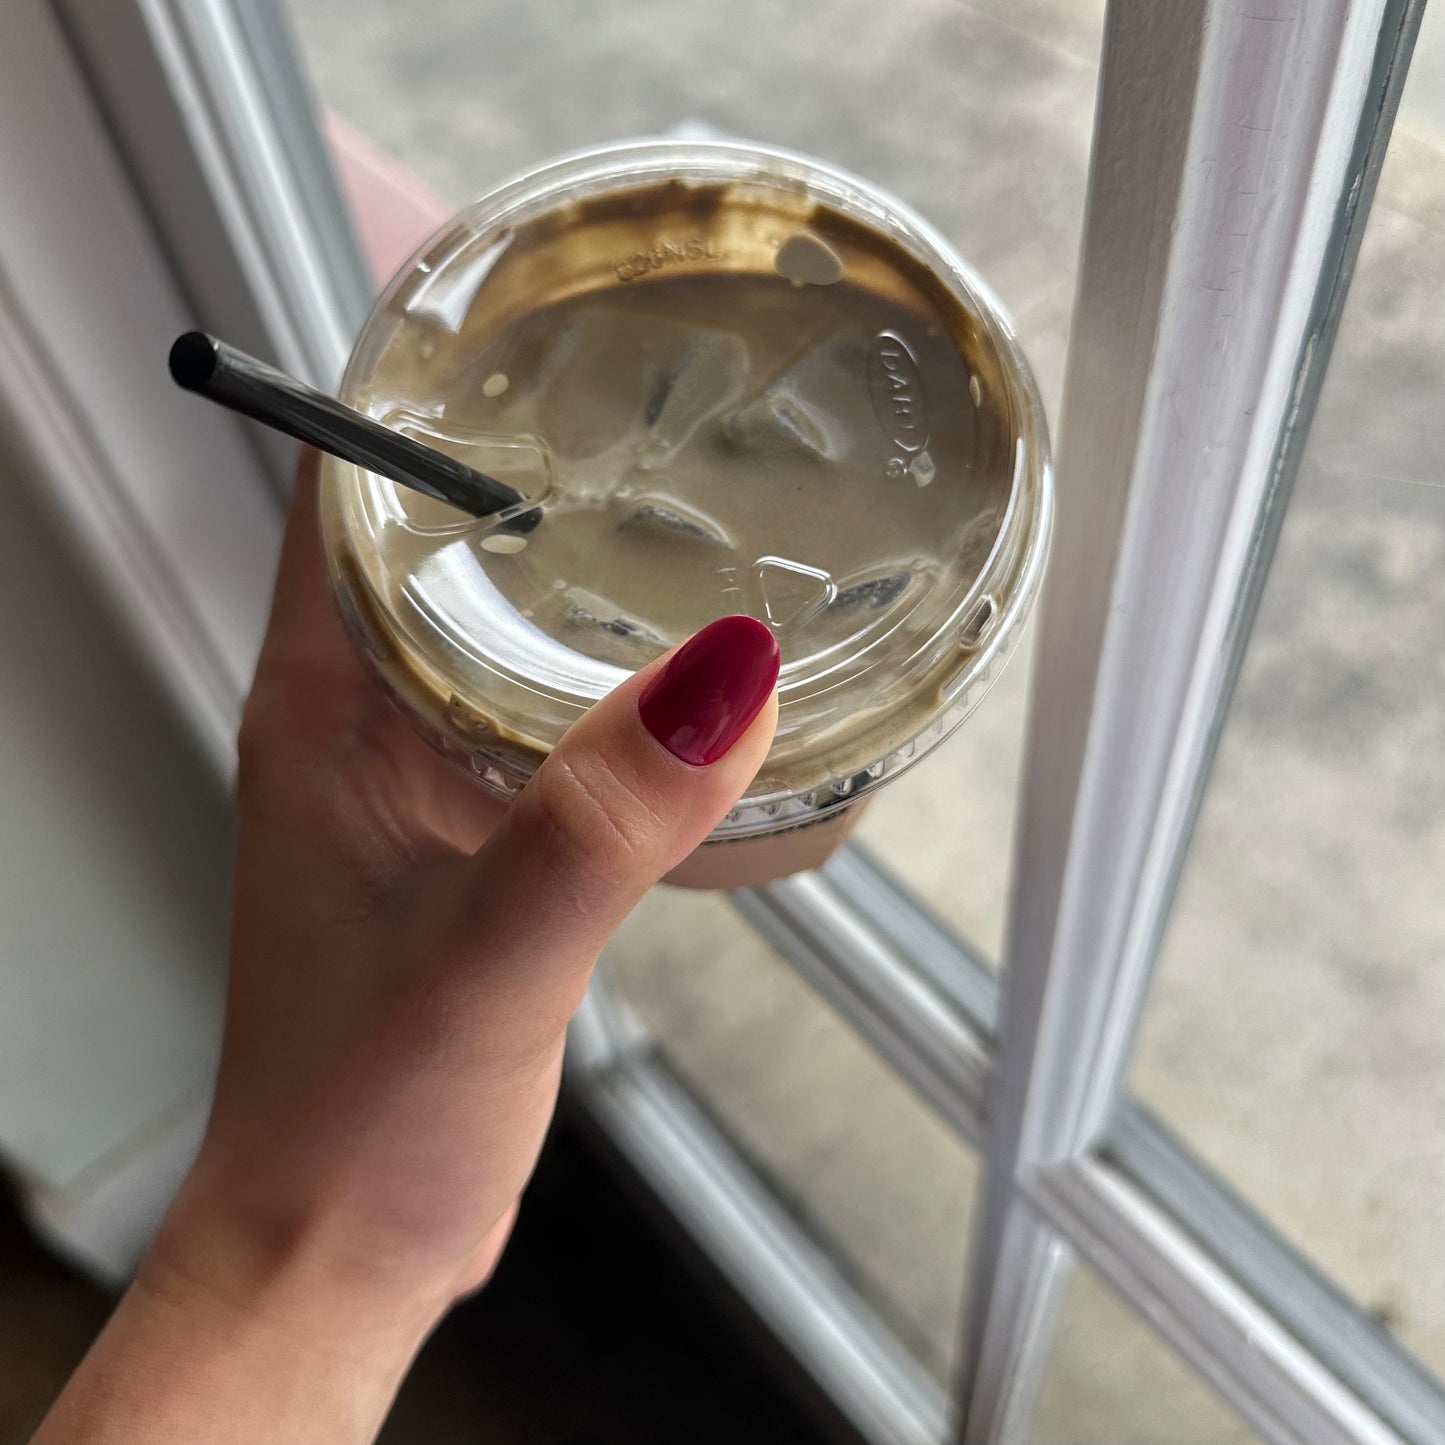
Indulge in a touch of decadence with our reusable gel press-on nails in the rich and alluring shade of cherry. Effortlessly elevate your look with the convenience and sophistication of these short round nails, perfect for any occasion. Say goodbye to messy polish and hello to flawless, long-lasting beauty.
Share
What's Included
What's Included
- 30 Nails in 15 sizes per hand
- Nail Glue
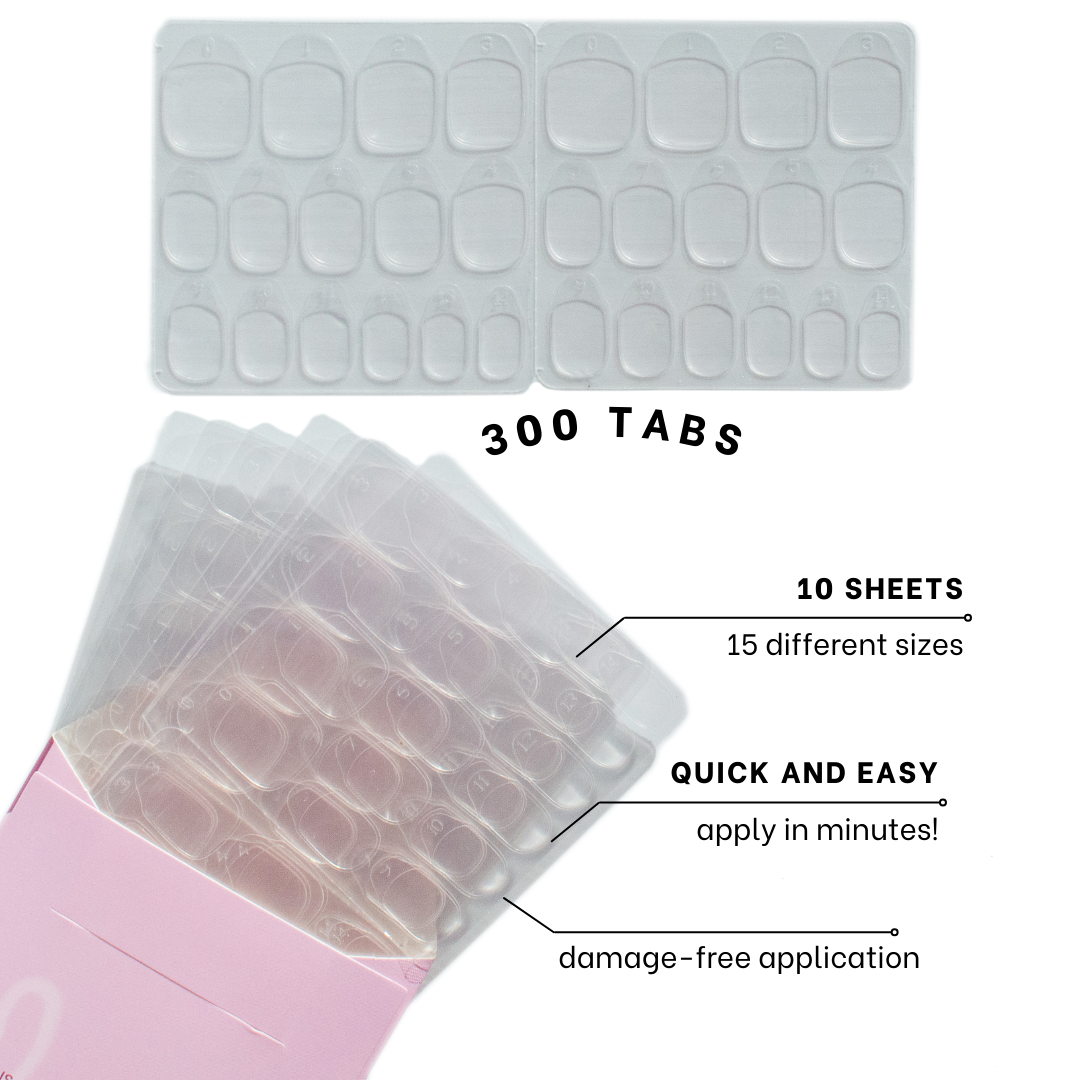
- 30 Nail Tabs (15 sizes)
- Dual-sided Nail File/Buffer
- Wooden Cuticle Stick
- Alcohol Pads
Ingredients:
Nail Glue - Ethyl Cyanoacrylate, Polymethyl Methacrylate
- Reusable
- AAPI Woman Owned
Purchase with...
I LOVE ISLA
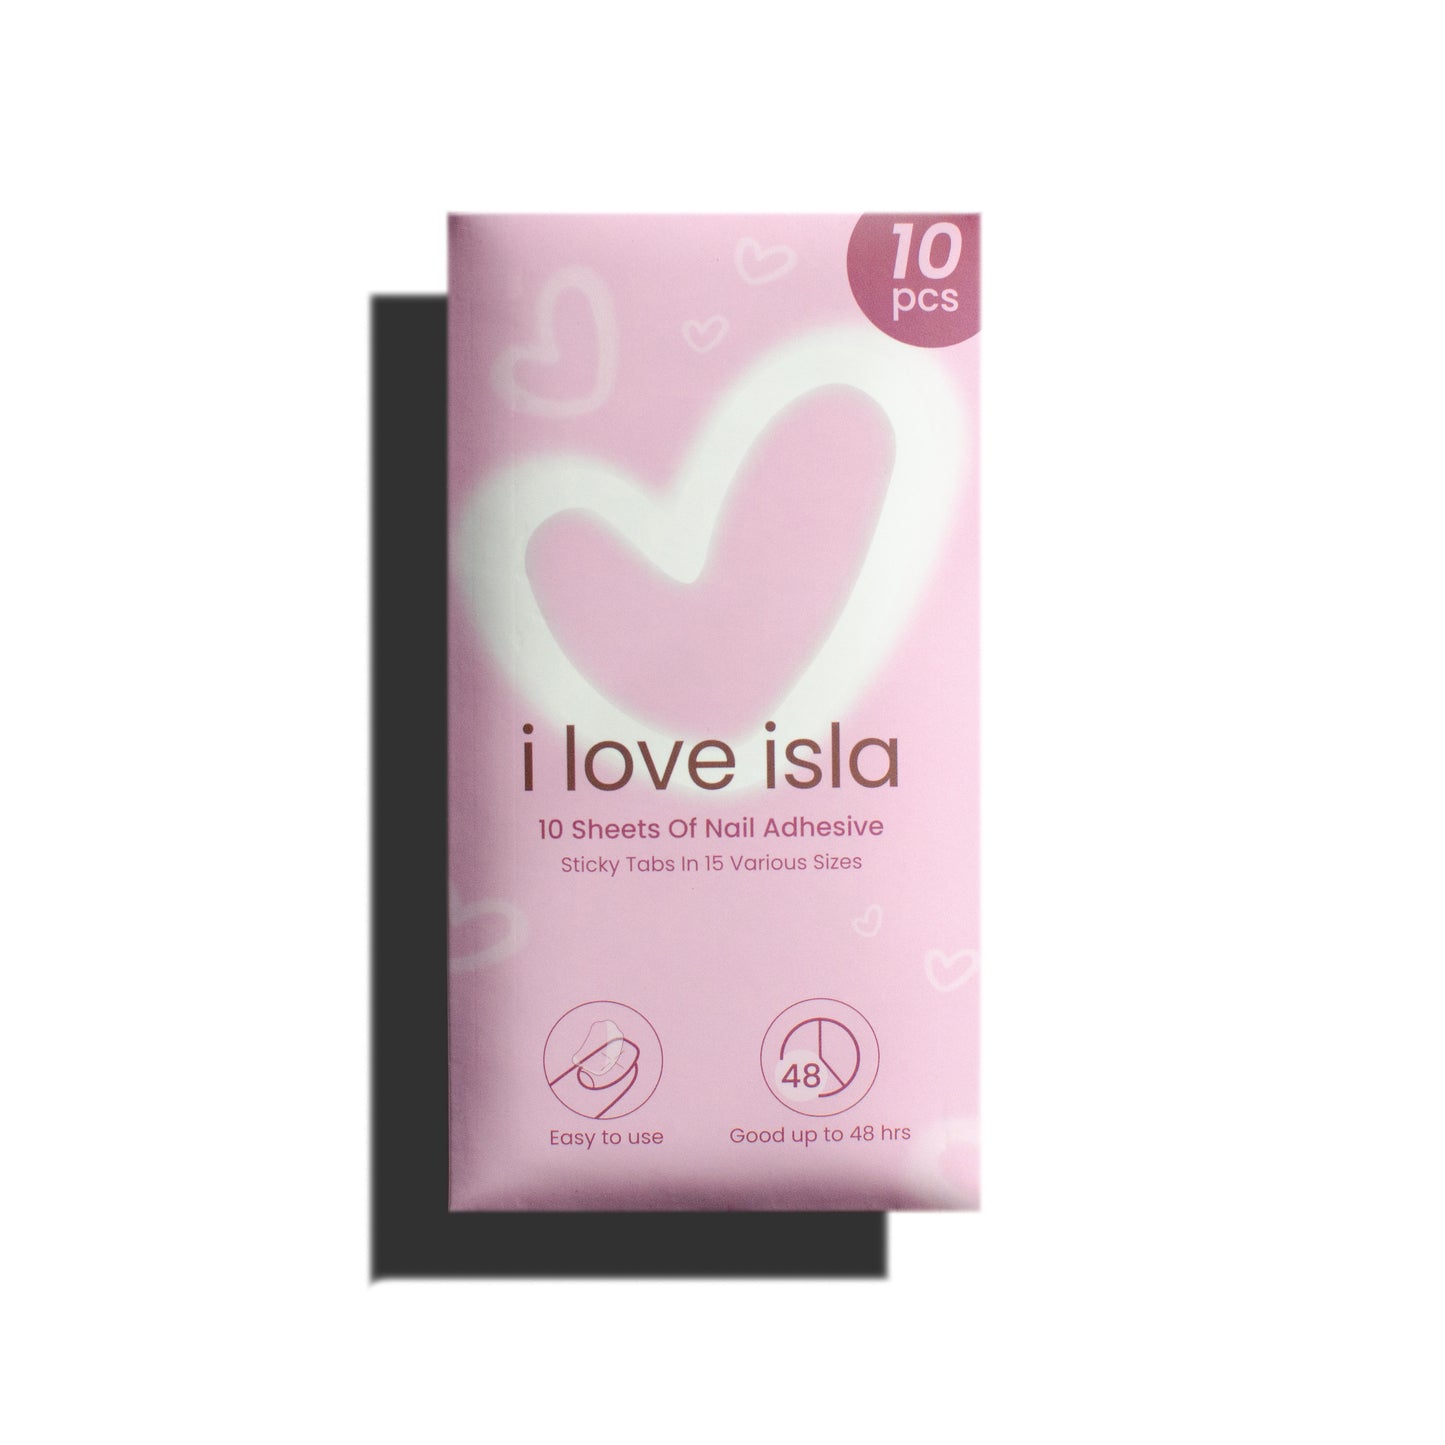
Nail Sticky Tabs
Share
FAQs
HOW TO APPLY?
1. Clean your nails. Remove any old polish, oils, or residue. Wipe each nail with the alcohol wipes (included) to ensure a clean, oil-free surface for maximum adhesion.
2. Push back cuticles. Use the wooden cuticle pusher (included) to gently push back your cuticles. This helps the press-on nails adhere better and prevents them from lifting at the edges.
3. Shape and buff your nails. Use the nail file to shape your natural nails and lightly buff the nail surface. Buffing removes shine and gives the the press-on nails a better surface to stick to.
4. Match each press-on nail. Lay out all your press-ons and match each one to your natural nails, ensuring each press-on nail fits from side to side without overlapping your skin. If you're between sizes, choose the smaller size for a more natural look. Tip: there are numbers located on the tip of each nail for ease of matching!
5. Lay out your chosen sizes in order. Once you've found the best fit for each nail, lay them out in order so you're ready to apply them quickly. Tip: use the included embossed nail tray to hold your nails in order.
FOR LONG-LASTING WEAR (UP TO 2 WEEKS) USING SUPER GLUE
1. Apply glue to your natural nail and press-on nail. Place a small drop of glue on your natural nail and another on the press-on nail. Spread it evenly across the surface. Avoid excess glue to prevent it from oozing out at the edges.
2. Press and hold. Place the press-on nail at the base of your natural nail at a 45-degree angle, just above the cuticle, then press down firmly for 30-60 seconds. Make sure the nail is straight and centered. Repeat this process for each nail.
FOR TEMPORARY WEAR (UP TO 48 HOURS) USING STICKY TABS
1. Choose sticky tabs. Select the sticky tab number that matches the number on the press-on nail.
2. Apply the sticky tab to your natural nail. Place the sticky tab on your natural nail, pressing down to ensure it's fully adhered. Peel off the protective backing from the tab.
3. Press on the nail. Place the press-on nail at the base of your natural nail at a 45-degree angle, above the cuticle, and press down firmly for 30-60 seconds. Ensure the nail is straight and centered. Repeat for each nail.
HOW TO REMOVE?
Our press on nails are reusable! Please be gentle when removing to maximize reuse + to protect your natural nails.
1. Soak your nails. Use a nail glue remover or pour a small amount of warmed (not hot!) coconut oil into a bowl. Place your fingertips in the bowl and let them soak for 10-15 minutes. The warmth and oil will help loosen the adhesive on the press-ons.
2. Gently massage. While soaking, gently massage each fingertip to allow the oil to work under the nails and dissolve the glue.
3. Push and remove. After soaking, use the wooden cuticle pusher to gently lift the edges of each nail. Avoid forcing or prying the nails, as that can damage your natural nail. If they don't come off easily, soak them for a few more minutes.
4. Nourish nails. Finish by massaging more coconut oil into your nails an cuticles for moisture and nourishment.
Tip: other food-grade oils may work as well but we find coconut oil works the best especially for massaging into your hands after press-on nail removal.


